Matching Multiple Cameras in a Wedding Film: Fix It on the Day, Not in the Grade
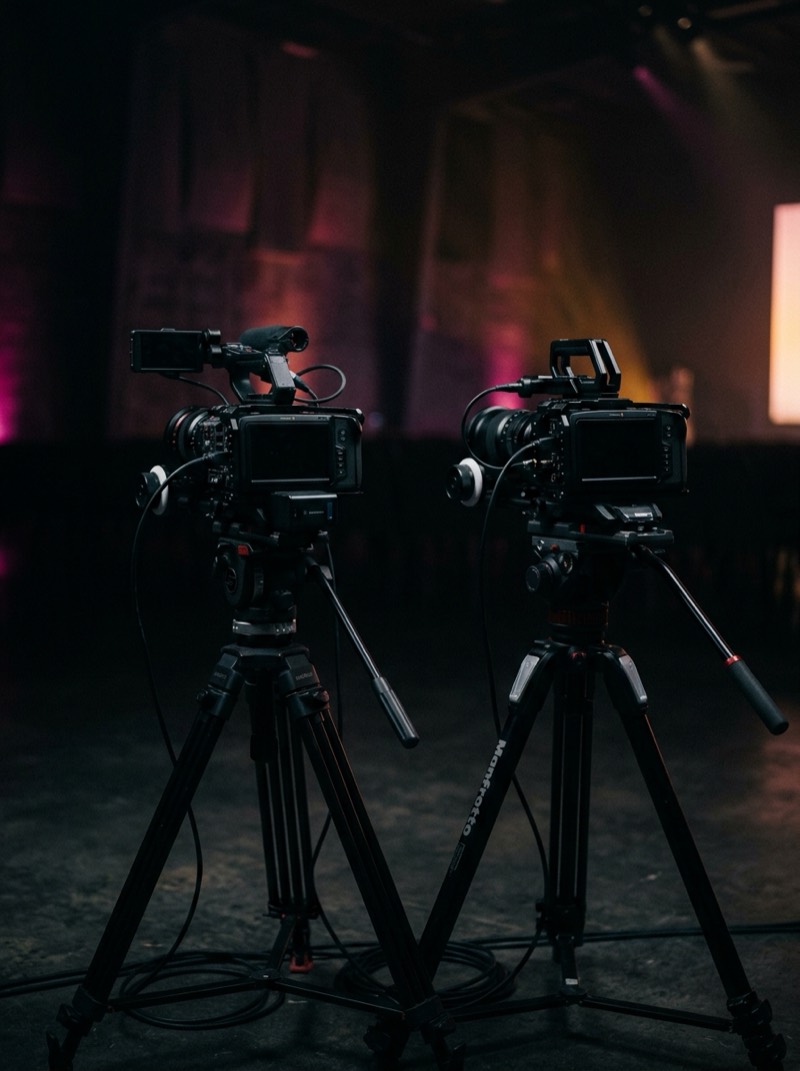
Two cameras, one wedding, and the cut announces itself every single time you change angle. It is one of the most common frustrations in wedding post-production, and the search results for it are dominated by companies selling preset and LUT packs, which is worth knowing before you take their diagnosis at face value.
A LUT cannot match cameras. It applies a look on top of whatever you give it. Two cameras that disagree, with the same LUT applied, are still two cameras that disagree, now wearing matching outfits. The actual match is won in two places, and one of them has already passed by the time you sit down to edit.
Weddings are the hardest color environment in the business
This is not a normal color matching problem, and it helps to be honest about why. A corporate shoot is one lighting setup. A wedding is roughly eight, in sequence, most of which you do not control.
Window lit prep. A midday ceremony under open shade or harsh sun. Golden hour portraits where the color temperature moves measurably between takes. An indoor reception mixing tungsten, daylight through windows, and candles. Then a dance floor lit by saturated LED fixtures that change hue every two seconds.
The uplighting problem, and why white balance will not save you
Here is the technical reason your dance floor footage never quite matches, which generic color grading articles almost never mention.
Sunlight and tungsten produce smooth, continuous spectra. Inexpensive LED uplights and DJ fixtures do not. They produce spiky output with real gaps in it, and two camera sensors with different spectral response will read those gaps differently. The result is that the disagreement between your cameras is not a constant offset. It is a nonlinear difference that varies by hue.
That matters practically, because white balance correction assumes a uniform shift you can undo. Under a magenta uplight, camera A and camera B can be neutral on a white shirt and still disagree on skin. No single correction fixes it, which is why you can spend an hour on the reception and still feel like something is off.
Knowing this saves time in two ways. You stop chasing a perfect match that is not physically available, and you start solving it where it can be solved, which is on the day.
The five minutes on the day that save the hour in post
Every item here is free, takes seconds, and does more for the match than any grading technique.
- Put both bodies on the same picture profile family. Log on one camera and a standard profile on the other is the most common self-inflicted version of this problem, and it is the hardest to undo because you are reconciling two different tonal curves before you even reach color.
- Set white balance manually, to the same Kelvin value, on both cameras, and reset it at each new lighting setup. Auto white balance on two cameras guarantees they will drift, and because they drift independently and continuously, the error is not a fixed offset you can correct once.
- Shoot a grey card, or failing that a white card, on every camera at the start of each setup. Ten seconds per lighting change. This is the highest return habit in this entire article, and it turns matching from judgment into measurement.
- Grab a match shot. Point both cameras at the same subject for a few seconds under each setup. It gives you an unambiguous reference pair showing exactly how the two bodies differ under that specific light.
- Expose consistently between bodies. Underexposing a log profile on one camera and not the other creates a noise and shadow difference that no amount of color work will hide.
- Match frame rate and shutter across bodies. Motion cadence that differs between angles reads as a mismatch even when the color is perfect.
The order of operations that actually works
Most people grade in the wrong order and then blame the cameras. The sequence matters more than the tools.
- Color management first. Bring every camera into a common color space with a proper transform, either through your application's color management or a color space transform per source. Doing this before anything creative means you are correcting real differences rather than compounding them.
- Match exposure before you touch hue. Almost everyone reaches for saturation first. Two shots at different brightness will read as different colors even when the color values are identical, so exposure has to come first or you will chase your own tail.
- Then neutralize using the grey card. This is where those ten seconds on the day pay for themselves. You are measuring, not guessing.
- Then match skin, and use skin as the deciding reference. Not the dress, not the wall, not the tablecloth. Viewers forgive an inconsistent wall and notice an inconsistent face instantly.
- Only then apply the creative look, once, across everything. A look applied to matched footage stays matched. A look applied to unmatched footage magnifies the difference.
Work on scopes rather than by eye. A vectorscope with the skin tone line and a parade for balance will show you a mismatch your eyes have already adapted to and stopped seeing after twenty minutes.
What to do about the dance floor
Accept first that a perfect match under color changing fixtures is not achievable, for the spectral reasons above. The goal shifts from identical values to consistent intent, and there are three practical ways to get there.
- Commit to the color rather than fighting it. A reception lit magenta is meant to look magenta. Trying to neutralize it produces muddy skin and an unnatural look, and it will never be consistent between bodies anyway.
- Pull the extremes down instead of correcting them. Reducing saturation on the most aggressive hues narrows the gap between how your two cameras rendered them, which is usually enough for the cut to stop announcing itself.
- Give faces one shared, decent quality light source. A small on camera light or a corner light with good color rendering means every camera sees skin lit by the same thing, even while the background does whatever the DJ is doing. This is the single most effective fix and it is a shooting decision, not a grading one.
And when a particular stretch is genuinely unmatched, cut around it rather than grading it into submission. Nobody watching notices the shot you did not use.
What to send an editor so they can match your cameras
If someone else is grading your wedding, this is the part that decides whether the first cut comes back close or comes back guessed at. It is rarely covered anywhere, and it costs you nothing to get right.
- A camera list. Which bodies, and which picture profile each one was on. Without this an editor is reverse engineering your tonal curves from the footage.
- The grey card and match shots, labeled by lighting setup. This converts the whole job from taste to measurement and is worth more than every other item combined.
- Your target look as a file or a frame, not as adjectives. A graded still from a previous film, or the LUT you actually use, communicates more than warm and filmic ever will.
- Which camera is the hero. Say explicitly that everything should be matched to camera A rather than averaged between bodies. Without that instruction an editor has to pick, and if they pick differently than you would have, every shot is now slightly wrong.
- A note on anything that went sideways. A body that drifted after the ceremony, a stretch that got overexposed, an angle where someone bumped the white balance. Editing around a known problem is quick. Discovering it is not.
An experienced editor can match almost anything given a reference. Given no reference, they are inferring your intent from the footage, and that inference is exactly what revision rounds end up paying for.
What matched actually means
Matched does not mean identical. Chasing identical is how people lose evenings to a reception that was never going to fully reconcile.
The working standard is simpler: the cut should not announce the camera change. Scrub the sequence at speed and watch the angle changes. If your eye catches the switch, keep working. If you have to go looking for it, you are done, and further effort is invisible to everyone except you.
The bottom line
Matching cameras is mostly a shooting problem wearing an editing problem's clothes. Same profile family, manual white balance, a grey card at every setup, and a match shot will do more than any preset pack, and all four are free.
What is left after that is a real grading job with a correct order: manage color, match exposure, neutralize, match skin, then apply the look. And on the dance floor, know that the physics is against you, aim for consistent intent instead of identical numbers, and put a decent light on people's faces so the one thing that matters is the one thing that agrees.