How to Organize Wedding Footage Before Sending It to an Editor
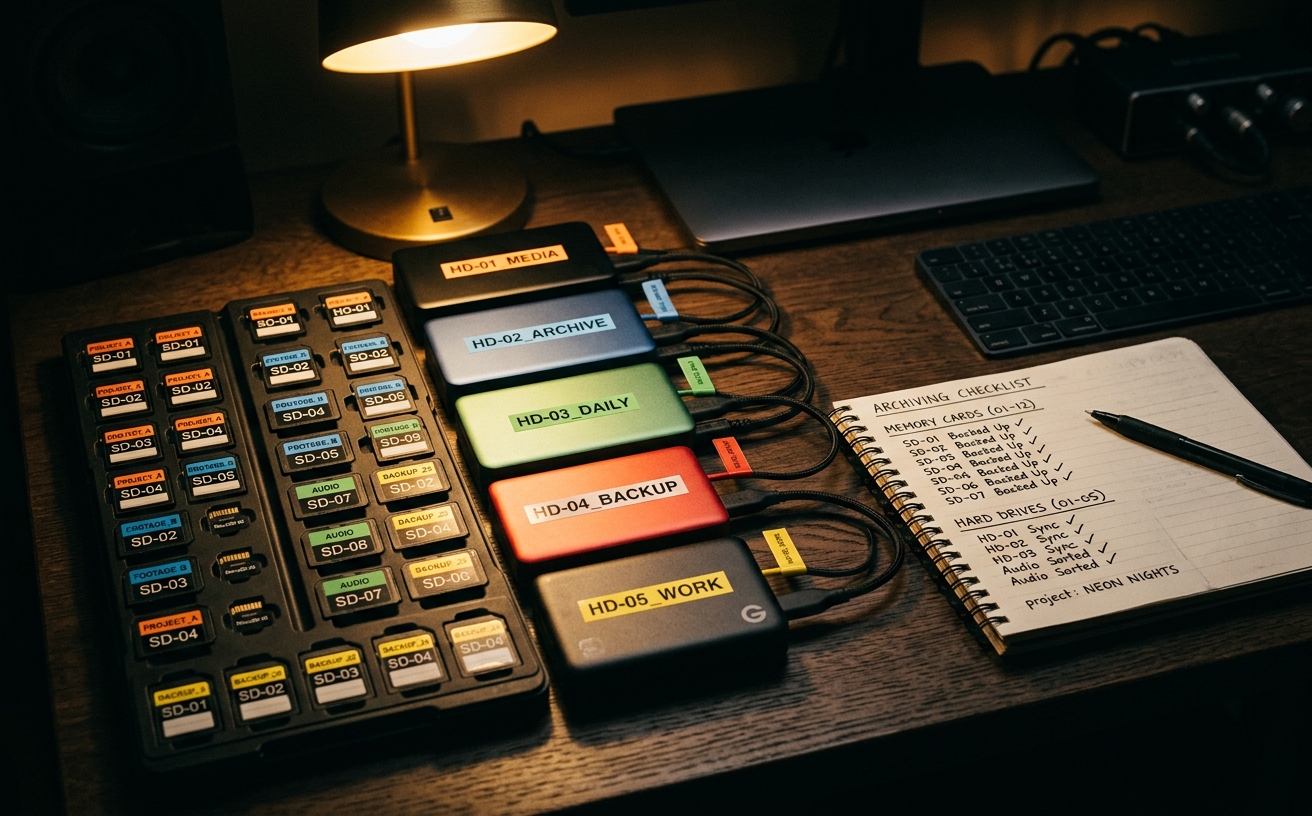
The fastest way to get a bad edit back is to send a mess. The fastest way to get a great edit back is to send organized footage with clear notes. Here's exactly how to package your wedding footage before sending it to an outsourced editor.
The Folder Structure That Works
Every editor has their own system, but a clean folder structure saves everyone time. Here's a proven layout:
- 01_PREP — Getting ready footage (bride and groom separately if shot by two cameras)
- 02_FIRST_LOOK — First look, reveal, private vows if applicable
- 03_CEREMONY — Full ceremony, all angles
- 04_FORMALS — Family portraits, wedding party, couple portraits
- 05_RECEPTION — Grand entrance, first dance, toasts, cake cutting, bouquet toss, exit
- 06_DETAILS — Rings, invitations, flowers, venue, decor, shoes
- 07_AUDIO — Separate audio files (lav mics, external recorders) if not embedded in video
- 08_MUSIC — Licensed music tracks if you've already selected them
Number the folders so they sort chronologically. Your editor will scrub through them in order, and a logical sequence means they understand the day's flow immediately.
Sync Before You Send (If Possible)
If you're comfortable syncing your multicam footage before upload, do it. A synced timeline saves your editor 2-4 hours of manual sync work, which means faster turnaround and more time spent on the creative edit. Export as an XML from Premiere, FCP, or Resolve and include it in the upload.
If you don't sync your footage, that's fine — most editing partners handle it. But include ALL audio sources: camera audio, lav mics, external recorders. Label them clearly (e.g., 'LAV_GROOM_CEREMONY.wav' not 'audio_003.wav').
What Notes to Include
A brief note file (text, PDF, or portal form) with the following makes a massive difference:
- Couple's names and wedding date
- What you're ordering (highlight film length, doc edit, social media cut, etc.)
- Music: either the specific track or 'editor's choice' with a mood direction (upbeat, emotional, cinematic)
- Key moments to include: 'The groom's vows made everyone cry — use those' or 'Skip the bouquet toss, it was awkward'
- Any special requests: 'This couple wants a longer ceremony section' or 'Keep it fast-paced, they're a fun couple'
- Anything that went wrong: 'Audio cut out during the best man speech at 4:30' or 'Camera B overexposed during sunset'
The more context you give, the fewer surprises you get back.
How to Upload
Cloud delivery is the standard: Dropbox and Google Drive work best for large files. Avoid WeTransfer for full wedding uploads — the file limits and expiration dates cause problems. If your internet can't handle a 200GB upload, mail a hard drive with a prepaid return label.
If your editing partner has a client portal, upload directly there. Portals typically let you attach your style preferences, music, and notes alongside the footage — everything in one place instead of scattered across emails.
What NOT to Do
- Don't pre-cull your footage unless asked. Your editor may find a moment you dismissed.
- Don't rename files with custom naming schemes — it can break metadata and timecode links.
- Don't upload proxy files instead of originals. Your editor needs the full-resolution source.
- Don't send footage without audio. Even if you think the camera audio is bad, it's often the editor's best sync reference.
The Payoff
A well-organized upload takes 15-20 minutes of your time. It saves your editor 2-4 hours of sorting, guessing, and re-syncing. That time savings comes back to you as a faster turnaround, a better first draft, and fewer revision rounds. It's the highest-ROI 15 minutes in your post-production workflow.